
Now Reading: How Do Auto Darkening Welding Helmets Work? [2026 Expert Guide]
-
01
How Do Auto Darkening Welding Helmets Work? [2026 Expert Guide]
How Do Auto Darkening Welding Helmets Work? [2026 Expert Guide]
A few decades back, welders didn’t have many choices-most of us used the old fixed-shade helmets. Those old fixed hoods got the job done, but man, the constant flipping up and down wore on your neck and wasted time. When the auto-darkening models first started popping up, I honestly didn’t trust them at first-looked too fancy. But after trying one, I had to admit it changed the game. The lens snapped dark the moment the arc hit, and suddenly welding felt a whole lot easier. As it not only reduced the neck strain but also significantly increased precision and safety.
But how do auto darkening welding helmets work? Why are they now considered an essential piece of PPE in modern welding practices? And what makes them smarter than the traditional welding helmets? Backed by insights from OSHA welding safety guidelines and findings published by the American Welding Society (AWS), we’ll answer these questions in detail.
In this comprehensive article, you’ll learn the science behind auto-darkening filters (ADF), the role of liquid crystal display (LCD) technology, and the importance of sensors and delay controls. This article also covers the practical benefits of auto-darkening helmets, includes input from seasoned welding professionals, and explains the core components that set them apart from older models.
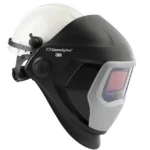
What is an Auto-darkening Welding Helmet?
If you’ve ever struck an arc, you already know how blinding it can be. That’s why welders rely on helmets-but the old fixed-shade ones could be a real hassle. You’d either keep your hood down and struggle to see your work, or flip it up and down all day, which gets tiring fast.
Auto-darkening welding helmets solved that problem. They look just like a regular hood at first glance, but there’s a twist-inside, there are sensors that catch the arc flash and darken the lens almost instantly. And when you’re not welding, the lens goes back to clear, so you can see what you’re doing without lifting it. The first time I actually tried one on the job, I caught myself thinking, why didn’t I use this sooner? My neck wasn’t constantly snapping up and down, and the whole process just felt easier. Not perfect, of course-you still adjust here and there-but compared to the old fixed-hood, it was a relief. No constant flipping, no missed weld starts-just steady, safe work.
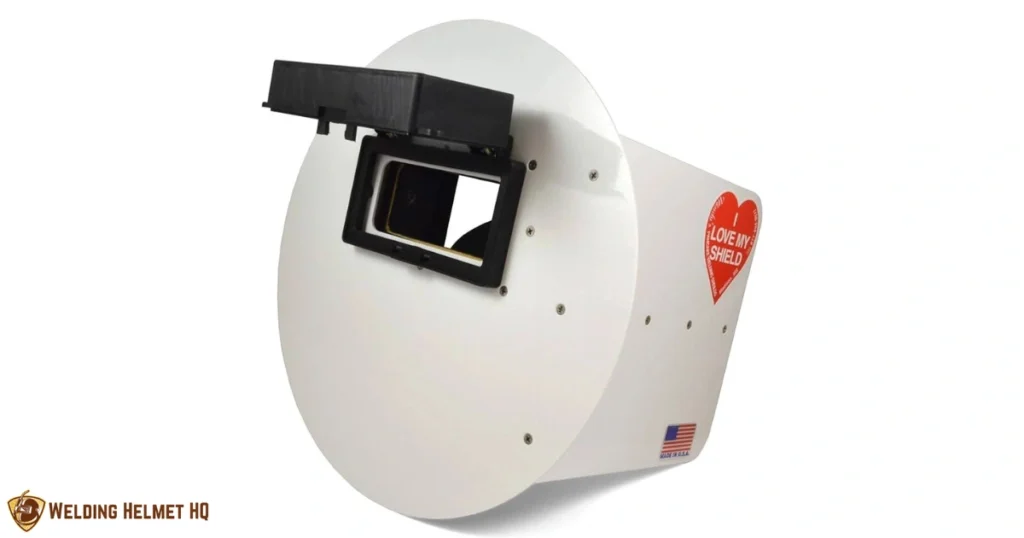
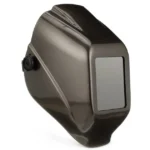
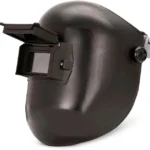
Problem with Traditional Helmets
Before diving into how auto-darkening works, let’s understand what made it essential in the first place.
- Manual Flipping: Traditional helmets require manual movement like you have to lift it up to see the work and then, drop it again when welding begins. This manual flipping of helmet up and down repeatedly interrupts the workflow and can also result in inaccurate starts.
- Eye Strain: Staring through a dark lens before striking the arc can lead to unnecessary eye fatigue over time.
- Safety Risks: Arc flashes or unexpected arc can happen before the helmet is lowered, leding to exposure.
Auto-darkening helmets understood these issues and solved them by offering real-time adaptability to lighting conditions.
Core working principle of Auto-darkening helmets
What really makes an auto-darkening helmet “smart” are two things most people never notice: The LCD screen in the lens and the tiny sensors on the shell.
Think of this like this-when you’re standing idle, the lens is light (shade 3 or 4). The moment that arc hits, the sensors kick in and tell the screen to go dark. It happens so quick that you barely notice the change-it’s just there, already protecting your eyes. Once you stop welding, the lens lightens again and you’re good to set up the next weld.
Key Components of an Auto-darkening Helmet
Now, we’ll look at the key parts of the helmet that make all this happen.
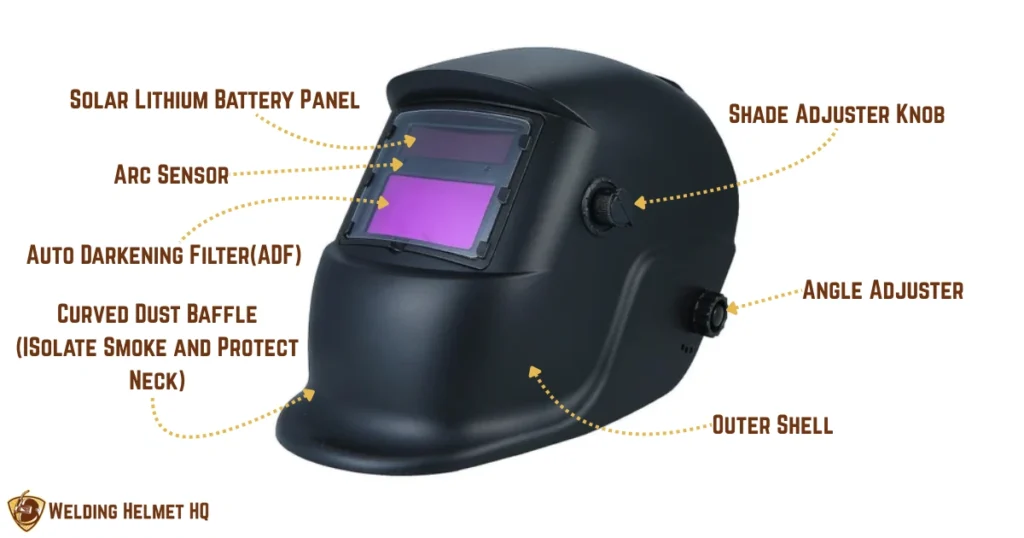
1. Auto-darkening Filter (ADF)
The Auto-darkening filter or ADF is the brain of the helmet. It consists of several layers and is responsible for controlling the transition of lens from light to dark. The ADF typically includes:
- UV/IR Filter Layer: This is always on, so even if the lens looks light, your eyes are still safe from harmful rays.
- Polarizing Filters: They cut down glare and make the view more comfortable.
- Liquid Crystal Cells: These are the “moving parts” in the lens that react to signals and shift the tint.
Fact: Even if the batteries fail, the UV/IR filter layer still does its job, which is why welders trust these helmets for safety.
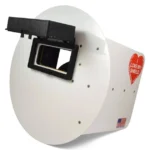
2. Sensors
Most good welding helmets have a couple of sensors-usually two to four-right around the viewing area. Their only job is to catch the arc’s brightness and tell the lens when to darken.
- More sensors is equal to better detection in obstructed angles or tight workspaces.
- Sensor sensitivity is usually adjustable, allowing customization based on the welding environment.
3. Power Source
Auto-darkening helmets can be powered by:
- Lithium batteries (replaceable or rechargeable)
- Solar panels (which extend battery life)
- Hybrid systems (combination of both)
Solar-assist helmets help charge the internal battery while working under welding light, offering longer durability and fewer interruptions.
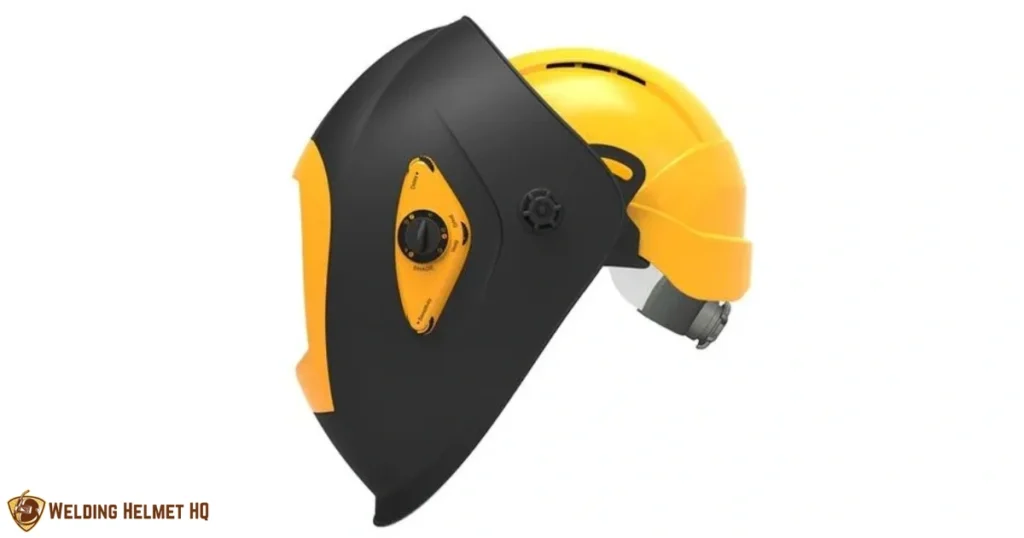
4. Control Settings
You’ll find dials or digital buttons on most helmets that allow welders to adjust:
- Shade level (usually between shade 9 to 13) for welding
- Sensitivity (how much light triggers the darkening)
- Delay (Time it takes for the lens to lighten once the arc is off)
These features provide flexibility across different types of welding like MIG, TIG, Stick and lighting conditions.
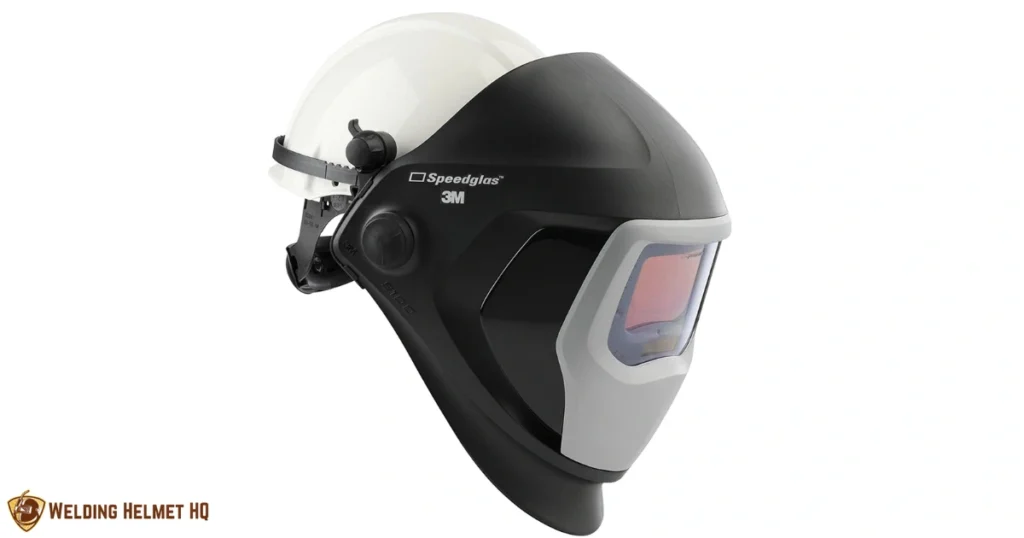
5. Shell and Headgear
The shell and headgear are not directly tied to the auto-darkening function but are crucial for:
- Physical protection from sparks and splatter.
- Comfort and proper fit during long hours of use.
- These helmets are built tough enough to handle the beating they take in industrial shops and field work.
The higher-end ones don’t just stop at protection either-they come with padded headgear, sweat bands, and straps you can actually adjust so the fit isn’t a pain.
Speed is crucial: Reaction time explained
The switching speed of an auto-darkening filter (ADF) is a key factor in performance:
- Entry level helmets react in 1/3,600th of a second.
- The high-end helmets flip dark crazy fast-like 1/20,000th of a second fast.
That kind of speed may not sound like much, but after a long day under the hood, your eyes definitely feel the difference.
What about Grinding Mode?
Many auto-darkening helmets come with a grind mode that disables the auto-darkening function. This lets you use the helmet as a protective face shield while grinding, without it the helmet will start to get dark from flying sparks light.
This feature lets you weld and grind without needing to swap out protective gear.
Advantages of Auto-darkening Helmets
- Increased productivity: As there is no need to pause and flip the helmet up and down repeatedly.
- Better Accuracy: Clear visibility before and after welding.
- Enhanced Safety: As it reduces the risk of arc flash or eye damage.
- Less Fatigue: Due to adaptive shading, eye strain is minimized.
Common Misconceptions
- Auto-darkening is unsafe if the battery dies: False. The UV/IR protection is always on.
- They’re only for professionals: False. Even hobbyists and beginners or anyone can benefit from them.
- You can’t use them outdoors: False. They work just fine in outdoor settings too with proper sensitivity and delay settings.
Now, let’s go deeper into the technical mechanisms of an auto-darkening welding helmets. We’ll explore how the components collaborate internally to deliver an adaptive, high-performance lens response. We’ll also break down the science behind lens shading and talk about the materials and technology that make it all possible.
Inside an Auto-darkening filter (ADF): Step-by-Step Through the Layers
Inside the helmet, the auto-darkening filter (ADF) isn’t just one piece-it’s made up of several layers working in sync to change the shade. It responds to arc light via electrical signals and shifts from a light to a dark state. Here’s what goes on inside the lens stack:
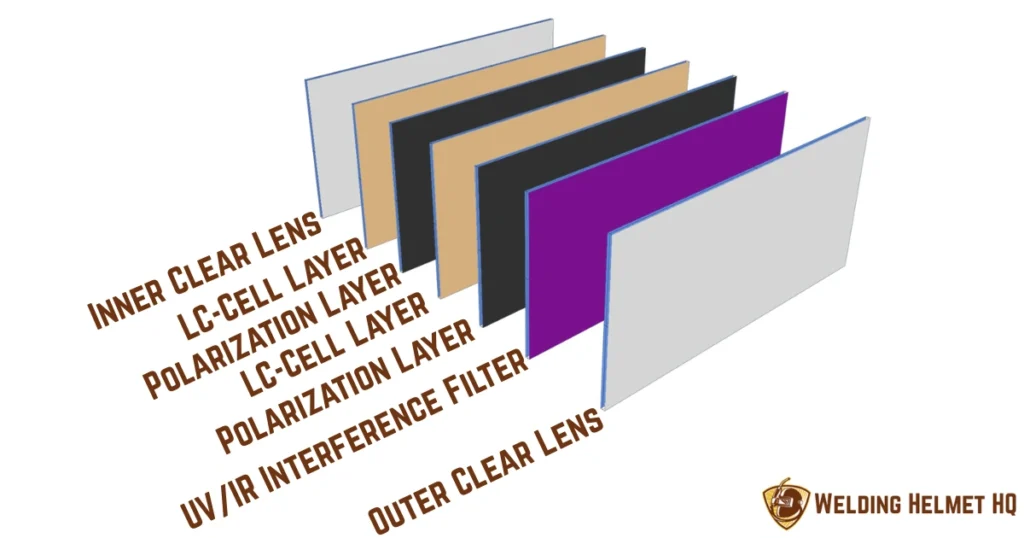
1. UV/IR Filter Glass
This UV/IR filter glass is made from optically coated glass and metal oxide films. The UV/IR filter’s always on. Doesn’t matter if the lens is dark or light-your eyes are covered wither way. It blocks harmful radiation regardless of whether the lens is powered on or darkened.
2. Polarization Filters
Usually, there are two of them. They straighten the light out so the liquid crystals can adjust the tint. Bottom line: less brightness, less glare in your face.
3. Liquid Crystal Display (LCD) Cells
This is the dynamic core of the ADF. The liquid crystals work a bit like shutters. When electricity hits them, they tilt to block or allow light, depending on the shade you need.
In the light state, those “shutters” are wide open, letting you see clearly. When welding starts, the arc sends a signal that makes the crystals darken the lens. The voltage levels applied controls how dark the lens becomes.
4. Photo Sensors
The arc is detected by two or more sensors positioned near the lens. They send a signal to a microcontroller inside the helmet, when light exceeds a threshold which then, triggers the LCD panel to switch to dark mode.
The process of Auto-darkening: Step-by-step mechanism
With a chronological breakdown, let’s look at everything that happens from the moment the welder initiates a weld:
1. Idle Mode
Even before darkening, the lens at shade 3 or 4 already filters out UV and IR light to protect the eyes.
2. Arc Initiation
As soon as the arc is struck, the light sensors detect the burst of brightness and in a matter of microseconds, a signal is sent to the LCD layer.
3. Signal Processing
A control circuit or microchip interprets the signal and then, applies the required voltage to the LCD crystals.
4. Darkening Phase
The liquid crystals shift position, causing the lens to darken to the chosen shade—usually between 9 to 13 based on amperage.
5. Post-weld Fade
Once the arc stops, the LCD crystals slowly shift back to their normal state. A user-defined “delay” setting controls how quickly this return happens- useful to protect from lingering brightness (like glowing slag).
Role of Electronics and Sensors
Auto-darkening helmets aren’t just about lenses, they’re smart devices with tiny electronic brains embedded. Let’s take a look at the main electronic parts inside the helmet:
- Photo Detectors: They are usually silicon-based that detects visible and invisible (UV/IR) light.
- Microcontroller Unit (MCU): This act as the central processor for the helmet’s reaction timing and customization.
- Variable Voltage Controller: It manages the amount of current that should be applied to the LCD layers.
- Power Supply Management: Hybrid helmets have tiny solar panels that feed the battery and keep the sensors alive.
Few of the fancy ones even come with Bluetooth, so you can change settings or push updates without taking the hood off.
Understanding Lens Shades and Darkness Levels
Shade is basically the darkness level of the lens. Let me break down how it usually works.
| Welding Type | Typical Shade Range | Current (in Amps) |
|---|---|---|
| TIG Welding | 9 to 13 | 5 – 300 A |
| MIG Welding | 10 to 13 | 80 – 500 A |
| Stick Welding | 9 to 13 | 40 – 300 A |
| Plasma Cutting | 5 to 9 | 20 -100 A |
| Grinding Mode | 3 to 5 | N/A |
Most auto-darkening welding helmets sort the shade out automatically within a preset range. While the fancy ones even let you tweak it yourself depending on what welding process you’re running.
Sensitivity, Delay, and Customization Controls
Auto-darkening helmets give you control over how quickly and how dark the lens gets. These include:
1. Sensitivity Control
It controls the brightness level that activates the darkening feature. It is useful for low-amp welding (like TIG) or bright ambient environments.
2. Delay Control
This setting controls how long the lens stays dark after the welding ends. A longer delay helps prevent eye strain caused by glowing metals after the weld.
3. Shade Selection
You can adjust the darkest and lightest lens shades using either manual knobs or digital controls. Some models have adaptive sensors that calculate ideal shading in real time.
Advanced features in Modern Helmets
As welding tech advances, so do the helmets. Here are some of the modern features found in high-end auto-darkening helmets:
- True Color Technology: It offers realistic color perception instead of the typical green tint.
- Grind and Cut Modes: These specialized modes are for non-welding operations.
- Memory Settings: Using this settings, welders can save their shade, sensitivity, and delay preferences for different jobs.
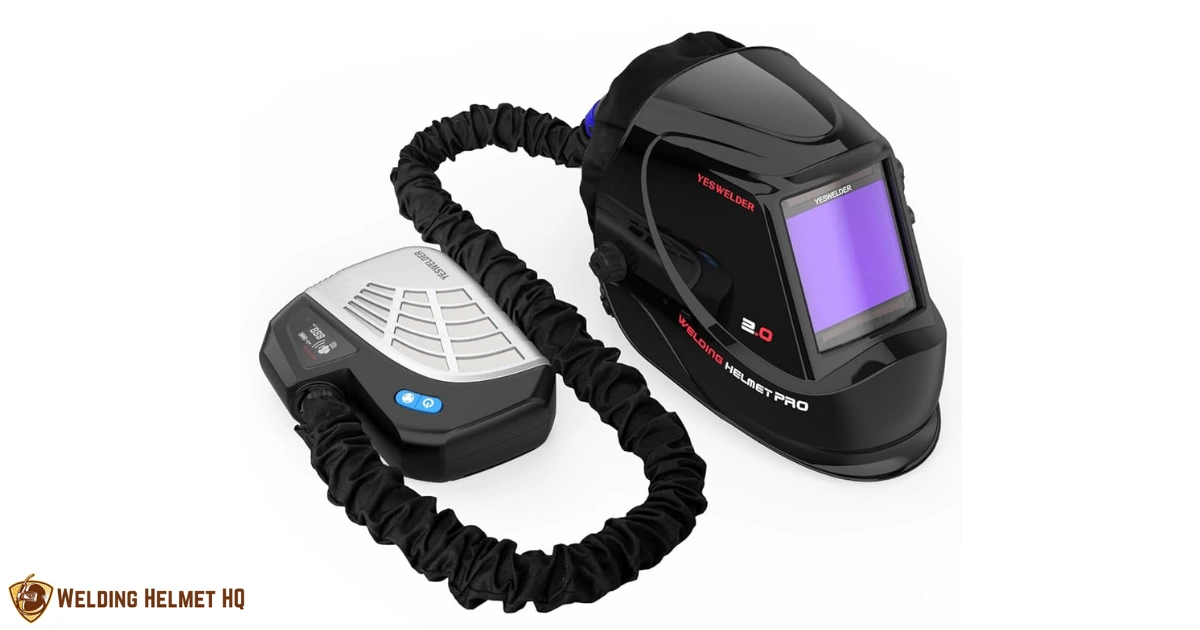
- Air-Purifying Respirators (PAPR): Some helmets include integrated respiratory systems.
- Touchscreen or Digital Display: For adjusting settings more precisely.
Power Management & Solar Assist
- A lot of auto-darkening helmets now come with solar assist.
- The solar panel doesn’t actually power the lens directly-instead, it feeds the battery while you work, so you’re not swapping batteries as often.
- When inactive, some helmets enter sleep mode to conserve energy.
- Low-battery indicators warn you before a shutdown, but UV/IR protection remains intact at all times.
Testing and Safety Compliance
High-quality helmets must meet safety standards such as:
- ANSI Z87.1 (US)
- EN379 (Europe)
- CSA Z94.3 (Canada)
Before every use, welders should:
- Test the lens using a button (if available).
- Try exposing the lens to bright light or a spark to check if it darkens automatically.
- Inspect for cracks, fogging, or sensor obstructions.
Applications in Real-World Welding Scenarios
Auto-darkening welding helmets are used across a variety of industrial, technical, and DIY applications:
Industrial Welding
Welders don’t just run one process. One day it’s MIG, the next it’s TIG or Stick welding. So the hood has to be quick on the lens and adjustable enough to handle it all. That’s why you see auto-darkening helmets all over-pipelines, shipyards, fabrication shops, even in aerospace.
Precision TIG Work
TIG welding is known for its low amperage which requires helmets that are sensitive enough to detect faint arcs. ADWHs allow TIG welders to avoid eye strain and see the weld pool clearly before the arc starts.
Construction and Field Work
On complicated jobs, auto-darkening helmets make it easier to keep moving without stopping to flip the hood. You can see the joint clearly, make your adjustments, and keep working without breaking your rhythm.
Hobby and Home Welding
DIY enthusiasts benefit from better visibility and control. Inexpensive yet efficient auto-darkening models allow home users to weld safely without breaking the bank.
How to Choose the right Auto-darkening Welding Helmet?
With so many auto-darkening welding helmets out there, picking one can be a bit of a headache. Here’s are some of the key things to keep in mind when buying:
1. Lens Reaction Time
If you’re welding professionally, look for a helmet that darkens in about 1/20,000 of a second for quick eye protection. On the other hand, if you’re a hobby welder or only weld occasionally, a lens with a slower reaction time—around 1/3,600 seconds—can still get the job done.
2. Number of Arc sensors
For casual welders, two sensors are more than sufficient. While for professional welders, four sensors is needed as they provide better coverage, especially in obstructed positions.
3. Shade Range
Ensure that the helmet covers all shades from 9-13 for welding. Grind mode (that covers shade 3 or 4) is useful for prepping and post-processing.
4. Viewing Area
Bigger window, less hassle. Around 4 inch by 3.5 inch gives you more to look at and keeps your neck from cranking so much. Super handy when you’re welding at weird angles or doing detail work.
5. Helmet Weight and Comfort
A lighter helmet makes a big difference on long shifts-you don’t feel as worn out by the end of the day. Look for one with padded straps and a decent sweatband so it actually feels comfortable while you’re working.
6. Optical Clarity
Check for the EN379 optical rating. The optical clarity score runs from 1/1/1/1 (crystal clear) down to 3/3/3/3 (not so great). If you grab a top-rated helmet, you’ll notice less blur, more even shade, and just a better overall view.
Maintaining your Auto-darkening welding helmet
Follow the given below care and maintenance tips to keep your helmet functioning at its best:
1. Clean the lens regularly
Use a soft microfiber cloth and lens-safe cleaner to clean the lens of your ADWH everyday. And, avoid any harsh chemicals that can damage coatings.
2. Store in a Safe place
After using your helmet, place it somewhere clean and dry so it stays in good condition. Also use a storage bag or case to prevent any accidental scratches or sensor damage.
3. Inspect before use
Everyday before use, check for any cracks in the shell and lens. Make sure the sensors are free from dust or anything blocking them.
4. Replace batteries promptly
If your helmet dims slowly or reacts inconsistently, then, the battery may be low. Always use the battery type specified by the manufacturer when doing a replacement.
5. Protect the sensors
Don’t weld with your hand or glover blocking a sensor as this could delay lens reaction and exose your eyes to an arc flash.
Common Issues and Troubleshooting
Despite their advanced tech, even the best helmets may encounter occasional issues. Here’s how you can spot and resolve these issues:
Problem 1: Helmet doesn’t darken
Possible Causes:
- Dead battery.
- Obstructed or dirty sensors.
- Defective arc sensor or wiring.
Fix:
- Replace battery.
- Clean sensor area.
- Test with another welding arc or replace helmet if unresponsive.
Problem 2: Flickering during welding
Possible Causes:
- Inconsistent arc signal.
- Low battery.
- Welding angle obstructing sensors.
Fix:
- Adjust sensor sensitivity.
- Check for adequate battery life.
- Change helmet position.
Problem 3: Eye fatigue after welding
Possible Causes:
- Delay or switching speed too slow.
- Shade level too light for current amperage.
Fix:
- Increase delay time.
- Adjust shade to match welding process.
Advantages Revisited: Why use Auto-darkening Helmets
Let’s see again the key benefits that make ADWHs superior to passive helmets:
| Feature | Benefit |
|---|---|
| Real-time Tint Adjustment | Instant protection from arc light. |
| Hands-free Operation | No need to flip the helmet manually. |
| Custom Settings | Personalize sensitivity, delay, and shade. |
| Improved accuracy | Clearly see workpiece before welding begins. |
| Less fatigue | Minimize Strain on neck and eyes. |
| Better Safety | Prevent accidental arc exposure or arc flash. |
Future of Auto-darkening Welding Helmets
As wearable technology advances, expect auto-darkening welding helmets to incorporate even more smart features like:
- Built-in displays show heat levels, welding time, and power usage.
- Voice controls.
- AI-assisted weld analysis.
- Bluetooth syncing with power sources or mobile apps.
These improvements aim to reduce error rates, optimize productivity, and elevate user comfort to unprecedented levels.
Conclusion
What’s happening inside an auto-darkening welding helmet is pretty simple-the sensors trigger the LCD. As soon as the arc fires up, the lens darkens right away. When you stop welding, it clears back up-simple as that, no extra movement needed.
For me, that’s the big win: less fatigue, cleaner welds, and not having to constantly nod the hood.
Whether you’re a professional fabricator or someone who welds at home, these helmets are totally worth it. And with the pace of new tech, I wouldn’t be surprised if the next generation feels even smarter.